This post is intended for TSCM technicians who use the REI Talan telephone analyzer. I present a work around for the ill fated line-tracing Harmonic Locator Probe, an included accessory that most techs never use. The work around involves a handheld receiver tuned to the Talan’s locator signal frequency. Read on to regain line-tracing capability in your Talan.
The Talan
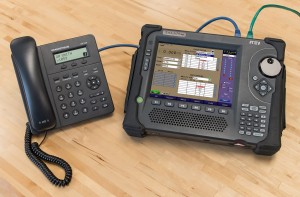
The Talan, REI’s telephone and line analyzer, is a great TSCM tool for inspection of telephone equipment and phone lines, including analog, digital, and (with version 3.0) VOIP connections. It has numerous valuable features to assist the TSCM technician in detecting wire taps, phone bugs, and other malicious eavesdropping modifications or attachments that may have been made to a phone or placed on a phone line. The Talan has been available since the early 2000’s, with new VOIP enhancements added around 2017.
Line Tracing Probe Nemesis
One tool included with the Talan is a line tracing probe, the HLP or Hamonic Locator Probe. When the Talan first appeared, many phone lines were still cat3 or even quad wiring (untwisted red-green-yellow-black). REI included in the kit a line tracing probe to help the technician follow any suspect wiring to it’s source or to the location of a tap or bug on the line. The Talan would inject a traceable signal onto a pair of wires and the probe would be able to follow that signal as well as apply a Non-Linear Junction detection test, looking for harmonics of the signal that could help identify and locate possible electronic components attached to the wires. This combined with the FDR (frequency domain reflectometer) tests would be very helpful in tracking down possible bugs on the phone lines.
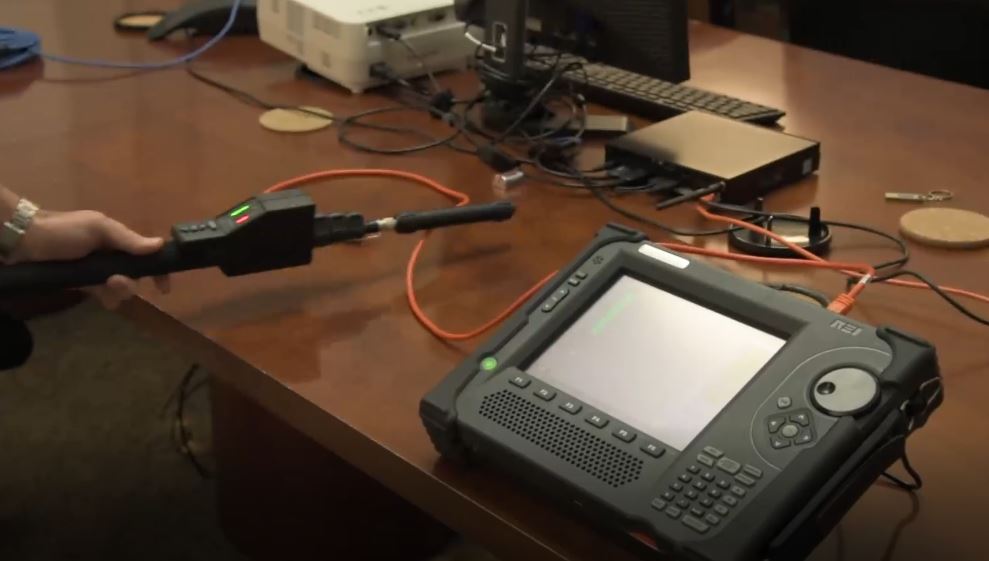
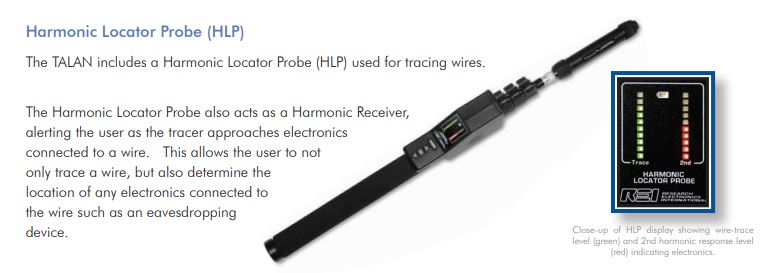
Not so functional.
My understanding is that with advancements in wiring from cat3 to cat5 to cat6 and beyond, the line tracing probe became less and less functional as it was relying on the NLJD aspect of detecting harmonics.
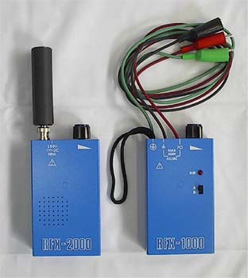
RF Wire Tracer
A radio-frequency line tracing probe has always been in my TSCM kit for the occasional need to follow the path a suspicious wire may take. It seemed redundant, though, to have to carry a separate probe when the Talan was supposed to be able to handle the same function. The challenge for me was that everyone I spoke with told me that the Talan probe was ineffective and I should just continue to carry and extra probe tool for line tracing functions. But I really wanted to find a way to make the Talan do the job.
Detecting the Talan signal
Trying to understand further, and wondering if my Talan was actually functioning properly and perhaps not sending the signal, I spoke with Chris Browning at REI. He suggested seeing if I could detect the low frequency, 225 kHz signal that the Talan should be emitting. I had a small shortwave receiver that I could tune to 225 kHz. Upon doing so I found that not only could I detect the RF signal, it was very strong and the tone that the Talan injected onto the signal was very clear and easily detectable.
I continued tests and connected a long cat5 cable to the Talan line port to see how effective it would be on a long cable. Using the short wave receiver, the signal could be detected all the way along the cable. The result was 100% more effective than the original Talan probe.
The shortwave receiver I was using was too large to fit in the Talan case, so I began a search to find a smaller handheld receiver.
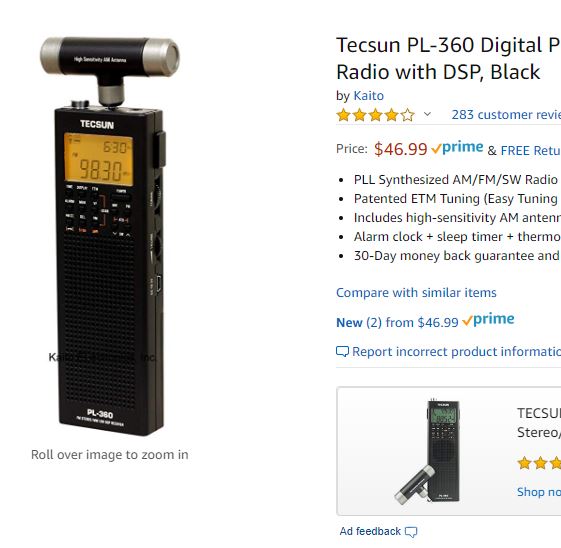
Tecsun PL-360 Handheld Receiever
I quickly found the handheld Tecsun PL-360 model shortwave receiver available on Amazon as well as other sources. The cost was only around $50 (US).
But I needed to be sure it could tune to the Talan’s 225 kHz signal. Some of the ads for the PL-360 said it could be tuned as low as 150 kHz, while other ads said it only went down to the AM broadcast band and stopped at 520 kHz. It was not clear why some ads claim to go lower while others did not.
Hidden menu for low frequencies
I purchased one of the radios and found there is “hidden” menu. The unit comes set for receiving the AM broadcast band in North America, using 10 kHz frequency separation. Other parts of the world, though, may use a 9 kHz separation and lower frequencies. The manual contains instructions for changing the settings to reach the lower frequencies as well as using the 9 kHz separation. The steps are provided below. Note that these steps are to be performed with the radio unit turned OFF.
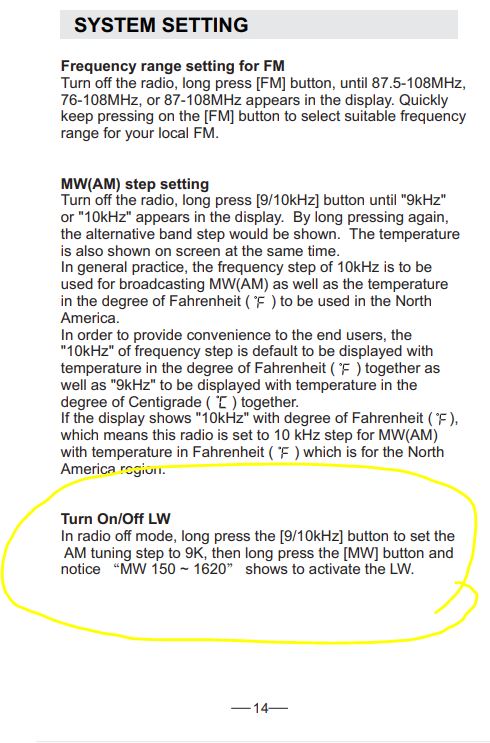
Detachable antenna
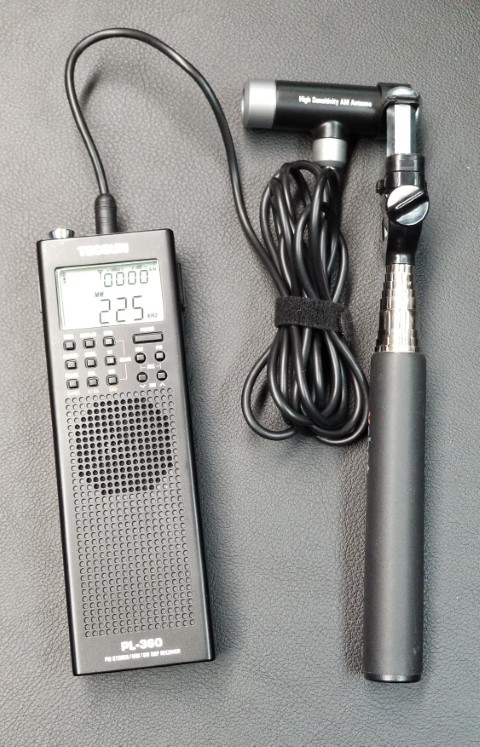
A great feature of the Tecsun PL-360 is that the long wave antenna is detachable and connects to the top of the radio using a standard 3.5mm plug. This allows the antenna to be remoted away from the receiver using a simple 3.5mm headphone extension cable.
To complete the set up as an extendable probe, I mounted a ¼-20 thread adapter to the antenna, attached it to an inexpensive selfie-stick, and connected it via a 6 foot headphone extension cable I picked up from a nearby electronics store.
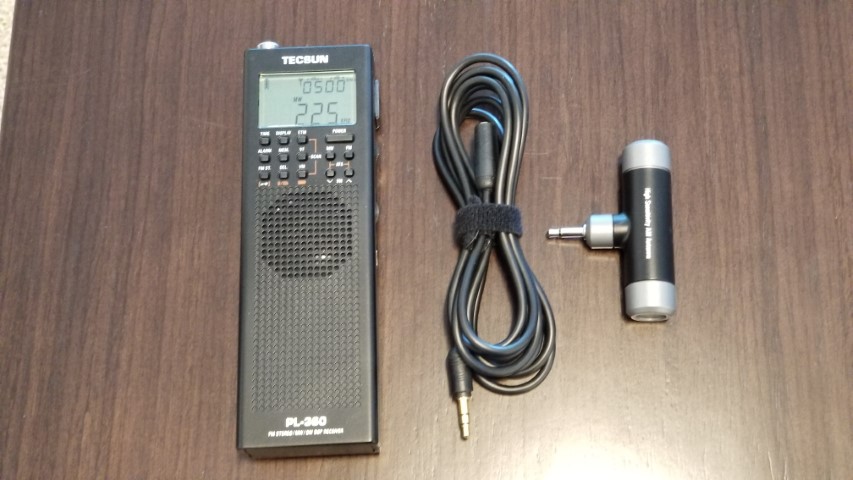
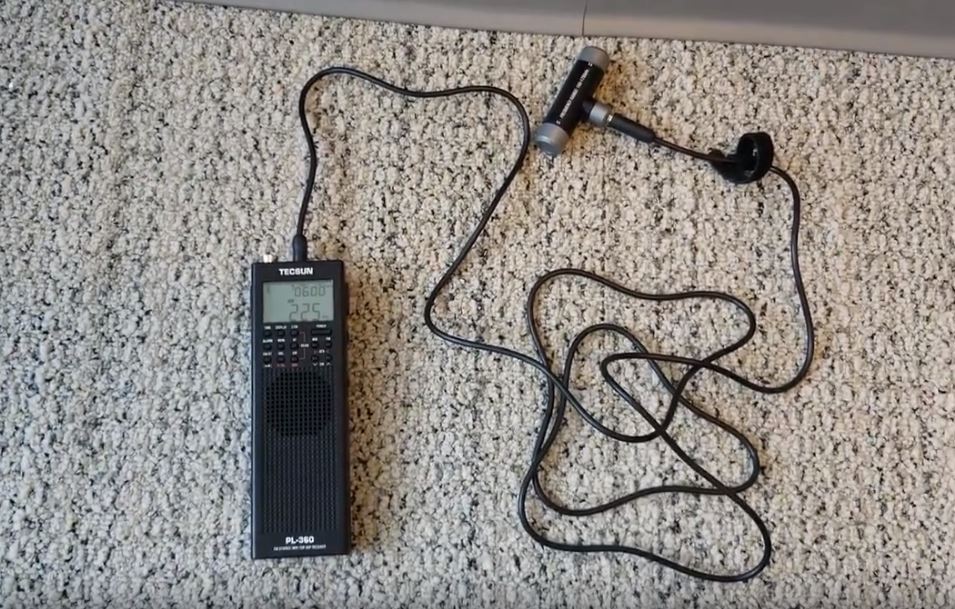
Here are a few short video clips demonstrating the PL-360 being used for tracing the Talan signal in an ethernet wall jack. The second clip demonstrates the extension cable.
You can hear the PL-360 quieting as it nears the Talan. When the tone is turned on it become more obvious.
Note that the PL-360 shows signal strength numerically on the top of the display.
Using the antenna remotely will allow you to have the receiver in a pocket or on a belt, with the option of wearing an earphone for non-alerting operation.
The following video shows using the Tecsun PL-360 to trace a cable through the ceiling to a patch panel. The Talan was injecting the rf signal into an ethernet jack in a conference room. The probe followed the 225 kHz signal about 100 feet through the ceiling to the IT closet. The signal strength of the detected signal is shown in the first 2 digits at the top of the screen (dBu). The strongest signal is found when the PL-360 is next to the cable at the patch panel, but even when the signal was low, a few feet away in the ceiling, you could still detect the tone generated by the Talan.
If you have other tips, tricks, or work-arounds for TSCM equipment I’d love to hear about them.

